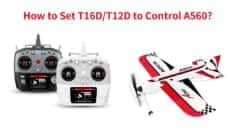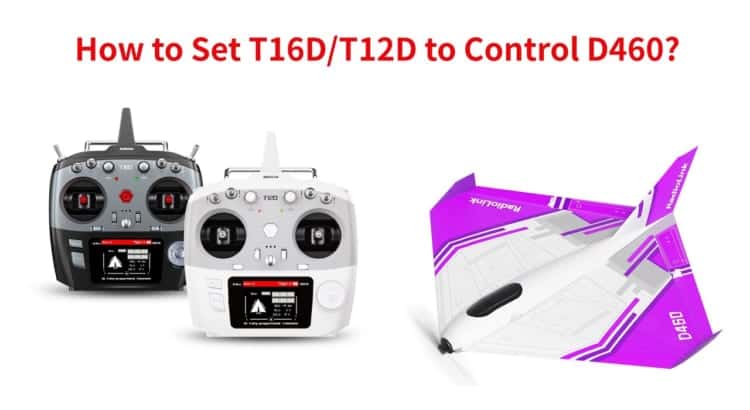
How to set T16D/T12D to Control D460?
Here is RadioLink D460. It can be controlled by different transmitters. Today I’m going to introduce how to use RadioLink T16D/T12D to control D460.
Remove the magnetic cabin cover. All accessories are inside the body. We can see that D460 is installed with a RadioLink flight controller Byme-DB, which supports standard SBUS and PPM signal. So you can use receivers/ transmitters from other brands to control D460. Just make sure your receiver supports standard SBUS or PPM signal.
D460 RTF version comes with R8XM receiver. R8XM is compatible with T16D/T12D transmitter. So we use R8XM mini receiver and T12D as an example.
Here is Byme-DB flight controller. SBUS/PPM channel is connected to the receiver.
Channel 1 is connected to left servo.
Channel 2 to right servo.
Channel 3 to ESC.
You can refer to the connection diagram on the screen.
Now, bind the receiver to the transmitter. Power on T12D. Enter Receiver Setting–protocol. R8XM supports FHSS V1 protocol. So I can select V1 protocol for R8XM receiver.
You can refer to the chart on the screen to set the correct protocol for your receiver.
Connect battery to D460. (Note: Please remove the propeller when setting D460 to ensure the safety.)
Long press binding button of R8XM. The signal tower on the screen of T12D indicates the binding is successful.
The LED of R8XM is blue/purple, which means it is SBUS working mode now. (If the LED is red, please short press the binding button twice to switch to blue/purple.)
Byme-A supports standard SBUS or PPM signal. So they can work together.
Now. Set the transmitter.
1.Enter Advanced settings-TYPE. Select delta wing.
2.Enter General settings-REVERSE. Set the direction of channel 3, throttle to REVERSE. And other channels to Normal. (When using transmitters from other brands, there is no need to follow this requirement.)
3.Enter General settings-AUX-CH. We need to assign a 3 way switch for channel 5, and a 2 way switch for channel 7. So I assign SWA, a 3 position switch to control channel 5.
And SWD, a 2 position switch to control channel 7.
Return to servo display.
D460 has 3 flight modes, which are controlled by channel 5, SWA.
Push SWA up, it is Stabilize Mode.
Push SWA in the center, Gyro Mode.
Push SWA down, Manual Mode.
When using other brand transmitters, please refer to the picture on the screen to switch the flight modes. ()
The motor can be locked/unlocked by Channel 7, I assign a 2 way switch, SWD to control the motor. And I’ll introduce the details of motor lock later.
When using other brand transmitters, please refer to the picture on the screen to locked/unlock the motor with the switch of channel 7. ()
By the way, you cannot set any mixing in the transmitter. Because there is already mixing in Byme-DB. If the mixing function is set in the transmitter, there will be conflicts of mixing and affect the flight.
After setting the transmitter, power on D460.
Keep D460 still. The self-test is done now.
Motor Safety Lock
The motor can be locked/unlocked by channel 7. I’ve already assign SWD to control it.
Push SWD down, the motor is locked. There is no throttle when you push the throttle stick.
Push SWD up, the motor is unlocked. The motor emits two long beeps means the unlocking is successful. Push the throttle stick and it responds well. (Please push the throttle joystick to the lowest position when unlocking the motor.
Attitude Calibration
Byme-DB needs to calibrate the attitudes to ensure the balance status. It is recommended to lift the aircraft nose with about 20 degree angle for beginner to ensure smooth flight.
I remove the cover, and place a box under the nose like this. Then push the left stick (left and down) and the right stick (right and down) like this to calibrate the attitude. The green LED of Byme-DB flashes once, indicates that the calibration is complete. And attitude calibration will be recorded by flight controller, once it is complete with success.
When using transmitters from other brands, follow the steps on the screen.
Servo Phase
After the attitude calibration is done, test the servo phase.
Push SWA the lowest, to Manual mode. Then check if the the movement direction of the ailerons is consistent with the joystick movement.
When the movement direction of the ailerons is inconsistent with the joystick movement, adjust the servo phase by pressing the buttons on the front of the Byme-DB. Here it is.
After you have done all the above preparations, you can install the propeller and fly D460 outside.
For more details of D460:
https://www.radiolink.com/d460
Purchase link of D460:
https://www.radiolink.com/d460_where_to_buy
For more details of T16D, please refer to the link:
https://www.radiolink.com/t16d
For more details of T12D, please refer to the link:
https://www.radiolink.com/t12d
If any question about RadioLink products please feel free to contact us. Our email is: after_service@radiolink.com.cn
#rcplane #transmitter #radiolink